Investing in a windshield for your motorcycle comes with a variety of benefits. When you opt for this type of screen you will get wind and weather protection, improved aerodynamics, and reduced rider fatigue. Some models do come with factory-installed windshields, however many do not, so a lot of riders all over the world are interested in getting a screen for their bike.
More often than not, this process can be turned into a DIY project. In this step-by-step guide for DIY enthusiasts, we will tell you how to install a motorcycle windshield. Keep on reading to learn what are the necessary steps that you need to take, and what are the things you need to pay attention to before starting this process.
Start by figuring out what type of windshield is best for you

Before installing a windshield, you need to figure out what kind of screen is best for your motorcycle and you. These models come in different sizes, shapes, and materials, so you would need to do some research to find one that is best used for your needs. Keep in mind that here you would need to think about the height of the shield, the width, your riding style, and your height, as well as the type of protection you want to get.
Think if you are willing to invest a bit more for something that is going to be far more durable, or if you are okay with putting minimal investment and replacing the screen as you go. Don’t forget to consider your riding style, the weather conditions in your area, as well as the type of bike that you have before choosing the right make and model for you. You can use websites like motorcyclescreens.eu to explore the options you have and ultimately find something that is going to provide you with the most benefits during your riding adventures.
Get the needed tools
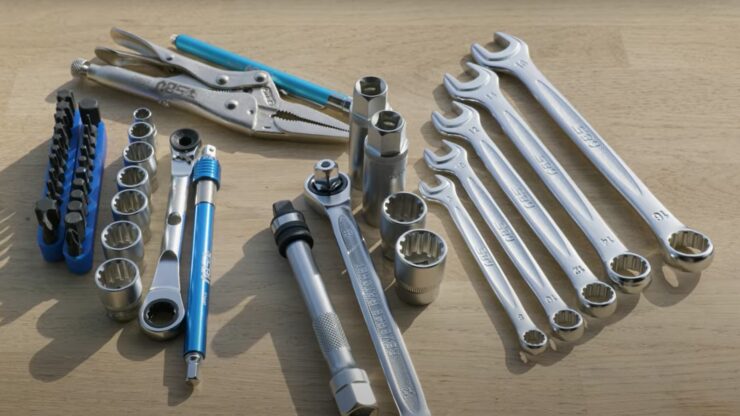
Another thing you need to do before you start this DIY process is figuring out what kind of tools you would need. To install a windshield, you will most likely need just the basic tools and you will not have to invest in anything new that will make this process far more complex and ultimately more expensive. More often than not, you would need a hex key set, a socket wrench, as well as a Phillips head screwdriver.
Remember that with every windshield you will get instructions for use, and you will also get a list of tools that you would require to install the shield. You can go through them, see if you have all of the items needed, or if you would need to borrow something from a friend or make a quick stop at the shop. Know that you will also need the mounting hardware that comes with your windshield and you can also talk to the seller or check out the website of the place that sells windshields to see if there is anything else that you would need to acquire before starting the process.
Start by removing the mirrors and installing the mounting brackets
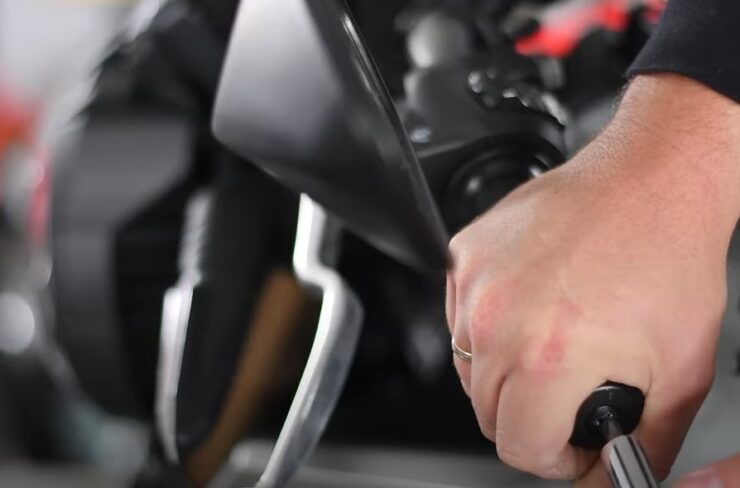
Once you are done gathering the tools and the screen of your choosing, the next step is removing the mirrors from your motorcycle. Ultimately what this will do is give you access to the handlebar clamp which is where the windshield mounts.
The process of removing the mirrors is pretty easy and you will just need a socket wrench to loosen the bolts that hold them in place. Make sure that you are extremely careful when the balls are loose, leave the mirrors of the bike and set them aside. You will not need more than a few minutes to successfully do this.
Once you are done with the mirrors, the next step is to install the mounting brackets for the windshield. These units will attach to the handlebar clamp and they will provide a secure mounting point for the windshield itself. To do this successfully, you would need to use a hex key set to remove the bolts and hold the handlebar clamp in place. Once you’re done with that you would need to slide the brackets onto the clamp and tighten the bolts back up.
Just like removing the mirrors, you would not need more than a few minutes to finish this process. Keep in mind that you should never use too much force when you are removing the bolts, and if you can notice that something is stuck or it’s not gliding as easily as it should be, it is far better to either use some kind of lubricant like WD-40 that will help you out or reach out to a professional service than risk damaging your property.
Continue by attaching the windshield
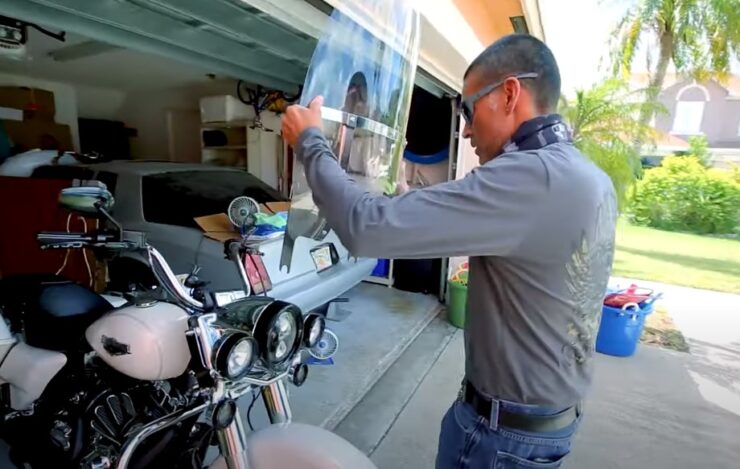
Once you are done with the mounting brackets, it is time to attach the screen. Depending on the windshield that you have purchased, this may involve sliding into the mounting brackets or using screws or bolts to attach it to the brackets. For this process, it is best if you check the user manual and see and see what the manufacturer is advising you to do. This is not a part that you want to skip, and it is better to rely on the user’s instructions then to wing it and end up making a mistake that will end up costing you a lot of time and money.
Ensure that the windshield is securely attached, and check to see if you would need to adjust the position of the screen to ensure that it provides the desired level of protection and visibility. If needed, remove the shield and attach it again until are happy with the result.
Reinstall the mirrors and adjust the screen
When does shield is securely attached, you would need to reinstall the mirrors. This is pretty easy to do and you would need to just slide them back onto the bike and tighten the screws to secure them in place. once the mirrors are secured, you would need to adjust the windshield and make sure that it is properly positioned.
Adjusting the windshield before you hit the road will help minimize wind turbulence and to ensure that you have a Clearview of the road and that you are safe while you are on the road.
As you can see, this process is pretty easy and you will get it done in less than an hour, but if you fear that you cannot do it on your own, you can just talk to a professional service that will help install the windshield and ensure its proper positioning.